前言
如果你的前后端分离项目采用SpringBoot3+Vue3+Element Plus,且在没有OSS(对象存储)的情况下,使用mysql读写图片(可能不限于图片,待测试)。
耗时三天,在踩了无数雷后,终于完成本功能。为你呈上。
本文完成功能:
前端采用Element发起上传图片请求,后端接收并将其存储到mysql。后端相应图片base64数据,前端接收并渲染到页面。1.前端上传到数据库
1.1前端上传图片
<el-form-item label="宠物照片" prop="pictureId"><el-upload v-model="form.pictureId" :auto-upload="false" :action="''" :show-file-list="true" :on-change="handleAvatarChangeIcon"> <el-button type="primary">选取文件</el-button></el-upload></el-form-item>参数:
:auto-upload 是否自动上传
:action 自动上传的请求路径
:show-file-list 显示已上传的图片列表
:on-change 选中文件触发的change事件
自动上传与否都不影响,这里主要是判断一下图片的大小、后缀名。如下:
const handleAvatarChangeIcon = (file) => { // 限制文件后缀名 const isJPG = file.raw.type === 'image/jpeg' const isPNG = file.raw.type === 'image/png' // 限制上传文件的大小 const isLt5M = file.raw.size / 1024 / 1024 < 5 if (!isPNG && !isJPG) { ElMessage.error('图片只能是 JPG/PNG 格式') return false } else if (!isLt5M) { ElMessage.error('图片应在5MB以内') return false } else { // 发起请求 let param = new FormData(); // 文件为form data格式 param.append("file", file.raw); post('/api/file/upload', param, (res) => { ElMessage.success('上传成功'); // 返回值为图片id form.pictureId = res }) }}1.2后端接收并保存数据库
controller
@RestController@RequestMapping("/api/file")public class FileController { @Resource private FileService fileService; @PostMapping("/upload") public RestBean<String> upload(@RequestParam MultipartFile file) { Integer res = fileService.upload(file); return RestBean.success(String.valueOf(res)); }}serviceImpl
@Servicepublic class FileServiceImpl implements FileService { @Resource private FileMapper fileMapper; /** * 文件上传到数据库 */ @Override public Integer upload(MultipartFile file) throws IOException { // 获取文件原始名 String originalFilename = file.getOriginalFilename(); // 获取文件后缀名 String endName = "png"; if (originalFilename != null) { endName = originalFilename.substring(originalFilename.lastIndexOf(".")); } // 拼接文件名 String filename = UUID.randomUUID() + endName; Integer pictureId; // 创建图片对象 byte[] fileBytes = file.getBytes(); Picture picture = new Picture(); picture.setName(filename); picture.setPicData(fileBytes); // 上传数据库 fileMapper.upload(picture); pictureId = picture.getId(); // 返回图片id return pictureId; }}mapper.xml
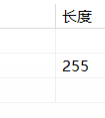
<mapper namespace="com.ycb.mapper.FileMapper"> <insert id="upload" useGeneratedKeys="true" keyProperty="id"> insert into `pet-adoption`.picture(name, pic_data) value (#{name}, #{picData}) </insert></mapper>数据库设计

2.前端从数据库获取图片并渲染
2.1后端从数据库中获取
entity
public class PetAndBulVO { /** * 照片 */ private byte[] picData;}controller
如果是一个图片数据直接封装到实体类,很多数据就封装成集合
@RequestMapping("/api/pet")public class PetController { @Resource private PetService petService; @GetMapping("/getAllPB") public RestBean<List<PetAndBulVO>> getAll() { List<PetAndBulVO> pets = petService.getAll(); return RestBean.success(pets); }}serviceImpl
@Servicepublic class PetServiceImpl implements PetService { @Resource private PetMapper petMapper; @Override public List<PetAndBulVO> getAll() { return petMapper.getAll(); }}mapper.xml
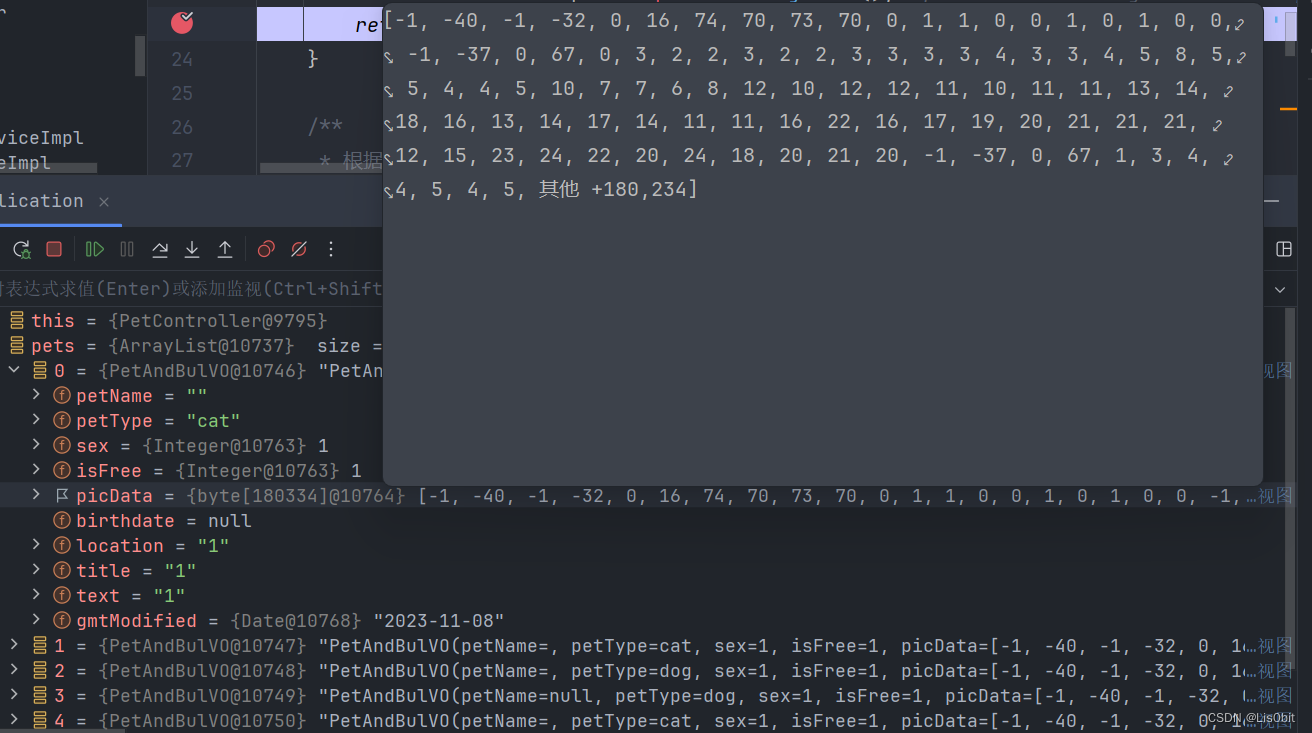
<mapper namespace="com.ycb.mapper.PetMapper"> <!-- 一定要映射结果集 --> <resultMap type="com.ycb.entity.vo.response.PetAndBulVO" id="petAndBulVO"> <id column="pic_data" property="picData" javaType="byte[]" jdbcType="BLOB" typeHandler="org.apache.ibatis.type.BlobTypeHandler"/> </resultMap> <select id="getAll" resultMap="petAndBulVO"> select * from `pet-adoption`.pet pet join `pet-adoption`.picture p on p.id = pet.picture_id </select>后端返回的图片数据如下:

2.2前端接收数据并渲染
后端传来的数据是 base64 形式的,需要解码
// 解码const base64ToUrl = (base64) => { return 'data:image/png;base64,' + base64}// 获取数据get('/api/pet/getAllPB', (data) => { for (let i = 0; i < data.length; i++) { data[i].picData = base64ToUrl(data[i].picData) } pBList.value = data}, (err) => { ElMessage.error(err)})解码后的图片数据如下:

渲染是大坑!一定要 v-bind: 绑定 src
// v-for循环获取picData, v-for="(pb) in pBList"<el-image v-bind:src="pb.picData"/>《林克可爱图》

写在最后
虽然可以实现仅用mysql就能完成图片读写,但其性能堪忧。
很难,但贵在坚持。


